Poser Velux: Your Comprehensive Guide to Installing Velux Windows

Velux windows, renowned for their ability to bring natural light and fresh air into homes, are a remarkable addition to any residential space. This article will serve as a detailed guide on how to poser velux windows effectively, ensuring that you enjoy the myriad benefits they offer while enhancing the aesthetics and functionality of your home. If you're considering this installation service, you've come to the right place!
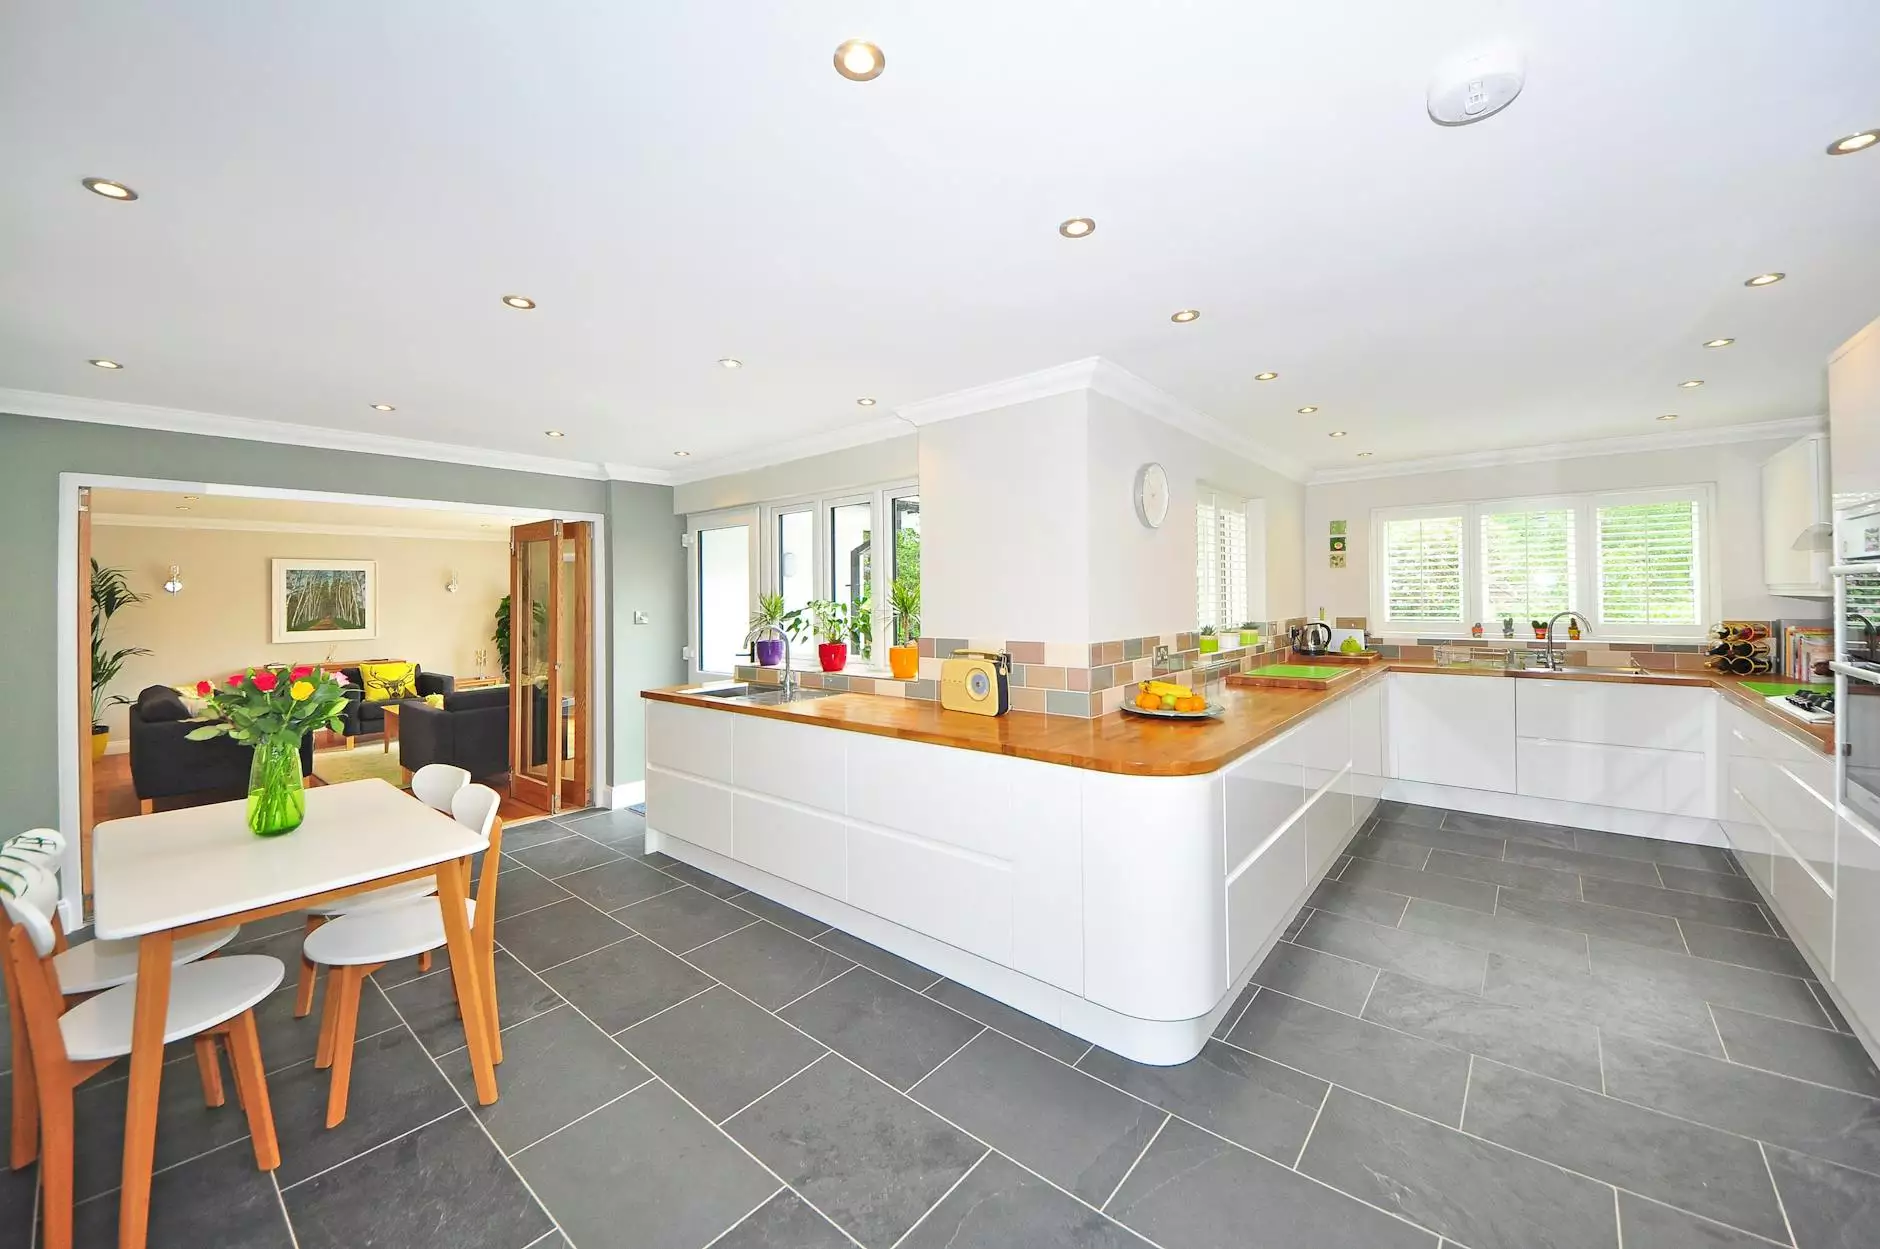
The Importance of Natural Light in Your Home
Natural light has significant psychological, physical, and economic benefits that can greatly enhance your living environment.
- Health Benefits: Exposure to natural light boosts mood and energy levels, improving overall well-being.
- Energy Efficiency: Utilizing natural light reduces reliance on artificial lighting, leading to lower energy bills.
- Aesthetic Appeal: Rooms infused with natural light feel larger and more inviting, enhancing the home's charm.
What are Velux Windows?
Velux windows are specialized roof windows and skylights designed to optimize light and ventilation in various types of buildings. They are made to fit standard roof pitches and offer features such as:
- Exceptional Insulation: Velux products are designed with energy efficiency in mind, minimizing heat loss.
- Variety of Styles: Whether you prefer an opener, fixed, or combinable solution, there's a Velux window for every preference.
- Durability: Made from high-quality materials, Velux windows are built to last, requiring minimal maintenance.
Choosing the Right Velux Window for Your Home
When considering to poser velux, it’s vital to select the appropriate type of window that aligns with your needs. Here are some factors to consider:
1. Window Type
Velux offers various window types including:
- Roof Windows: Ideal for sloped roofs, these windows provide breathtaking views and ample light.
- Skylights: Perfect for flat roofs, allowing maximum light entry.
- Solar-Powered Venting Windows: These windows can be opened for ventilation without manual effort, making them very convenient.
2. Size and Placement
Choosing the right size and placement is crucial to maximize light entry and overall aesthetic appeal. Consider:
- Proportionate sizing related to the roof area; larger openings can provide more light.
- The placement should optimize views and ventilation, avoiding obstacles that may block light.
3. Accessibility
When installing, consider how accessible your new Velux windows will be for opening and cleaning. Some options include:
- Manual Operation: Requires a little more effort but is often less expensive.
- Electric Options: These can be controlled with a remote, providing convenience for hard-to-reach areas.
Benefits of Installing Velux Windows
Installing Velux windows comes with a host of benefits, making them an excellent investment for modern homes. Here are some key advantages:
1. Enhanced Energy Efficiency
By letting in natural light, Velux windows can significantly diminish the need for artificial lighting during the day, thereby lowering energy costs.
2. Improved Ventilation
Velux windows can also be opened, effectively promoting airflow, which helps to reduce indoor humidity and improve air quality.
3. Increased Property Value
Homes equipped with attractive, functional features like Velux windows often see a higher resale value, as they appeal to buyers looking for naturally lit spaces.
4. Aesthetic Enhancements
These windows not only bring light but also add character and elegance to your home, enhancing its visual appeal.
The Process of Installing Velux Windows (Poser Velux)
Ready to poser velux? Here’s a step-by-step breakdown of the installation process:
1. Gather Necessary Materials
Before starting, ensure you have all necessary tools and materials, including:
- Measuring tape
- Level
- Immediate safety gear (gloves, goggles)
- Install kit provided by Velux
- Appropriate sealants and flashing kits
2. Measure and Mark
Carefully measure your roof pitch and area where you will install the window. Markout the opening precisely, ensuring compliance with local building regulations.
3. Create the Opening
Using appropriate tools, cut out the space for your Velux window. Be sure to follow safety guidelines and wear protective gear.
4. Install the Window
Carefully insert the window into the opening, ensuring it's level and securely fastened. Use the flashing kit to protect the window from water ingress.
5. Sealing and Finishing Touches
Once the window is in place, apply sealants and finish the interior surroundings to enhance the aesthetics of your installation.
Maintaining Your Velux Windows
To ensure your Velux windows function optimally and last for years, follow these maintenance tips:
1. Regular Cleaning
Clean the glass surfaces periodically to allow maximum light entry. Use non-abrasive cleaners to avoid scratches.
2. Inspect Seals and Flashing
Regularly check the seals around the windows to prevent leaks and ensure that the flashing is intact.
3. Check the Opening Mechanism
If you have electric Velux windows, ensure that the mechanisms are functioning properly, and replace batteries as needed.
Conclusion: Elevate Your Living Space Today!
Investing in Velux windows is a smart decision for any homeowner looking to enhance their living space. With their ability to bring in natural light, improve ventilation, and increase property value, to poser velux has become a popular choice among homeowners seeking efficiency and aesthetic appeal. If you're located in Reunion and are interested in professional installation services, visit confortoit.re to explore options available to transform your home today!